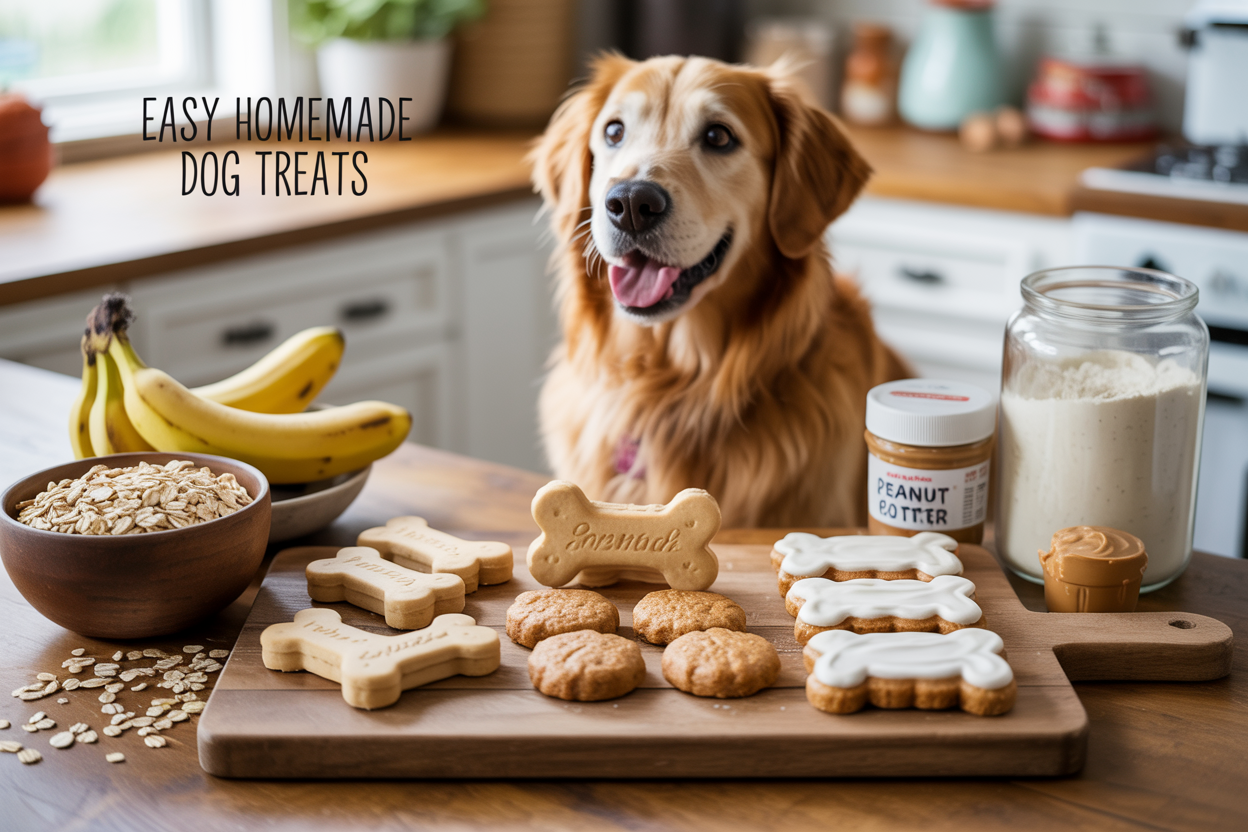
Making your own dog treats at home is easier than you think and your furry friend will absolutely love the results. These simple dog treat recipes are perfect for pet parents who want to give their dogs healthy, affordable snacks without the mystery ingredients found in store-bought options.
You’ll discover essential ingredients that are safe and nutritious for your pup, plus learn how to whip up crowd-pleasing treats like 3-ingredient banana oat cookies and classic peanut butter biscuits with frosting. We’ll also cover important safety guidelines to keep your dog healthy and storage tips to keep your homemade treats fresh for weeks.
Your dog deserves treats made with love, and you’ll save money while knowing exactly what goes into every bite.
Essential Ingredients for Homemade Dog Treats
Natural Peanut Butter Without Harmful Additives
When selecting peanut butter for your homemade dog treats, you need to be extremely cautious about the ingredients list. Many dogs love peanut butter, and it serves as an excellent flavor enhancer while providing healthy fats and protein to your dog treat recipes. However, the key is choosing all-natural peanut butter with no xylitol, artificial sweeteners, or added salt.
Xylitol is extremely toxic to dogs and can be life-threatening, so you must always read the label carefully before purchasing. Look for peanut butter that contains only peanuts or peanuts and salt at most. This natural ingredient pairs well with apples, bananas, carrots, and oats, making it a staple in many healthy homemade dog treats.
Ripe Bananas for Natural Sweetness and Nutrients
Ripe bananas are perfect for adding natural sweetness and a soft texture to your homemade treat for dogs. Unlike artificial sweeteners that can be harmful, bananas provide a safe way to enhance the flavor of your dog cooking creations. They offer natural sugars that dogs can safely process, along with essential nutrients.
When incorporating bananas into your homemade dog treats, ensure they’re ripe for the best texture and sweetness. The natural sugars in bananas make them an ideal substitute for processed sweeteners, keeping your treats both delicious and nutritious for your furry friend.
Whole Wheat Flour and Oat Alternatives
Flour serves as the foundation for most baked goods in dog treat recipes. For your homemade treat for dogs, it’s better to choose oat flour, rice flour, or whole wheat flour, as these options are easier to digest and rich in fiber. Oat flour stands out as an excellent source of B vitamins and antioxidants, making it particularly beneficial for canine health.
Unlike almond flour, white refined flour, and any mixes containing leavening agents or salt, oat flour doesn’t cause blood sugar spikes and rarely triggers allergies. This makes oat flour one of the best ingredients for dog treats, offering both nutritional value and digestive ease. When you’re preparing your homemade dog treats, these flour alternatives ensure your pet receives maximum nutritional benefits.
Safe Add-ins Like Honey and Eggs
Eggs are excellent natural binders that also supply protein, fat-soluble vitamins (A, D, E), and essential amino acids to your dog cooking projects. While raw eggs aren’t recommended, they become completely safe when baked into treats. Eggs give your dough elasticity and improve the overall texture of your homemade treat for dogs.
You can use both chicken and quail eggs as great dog treat ingredients for any recipe. These protein-rich additions help bind your ingredients together while providing essential nutrients. When combined with other safe ingredients, eggs contribute to creating treats that are both structurally sound and nutritionally complete for your canine companion.
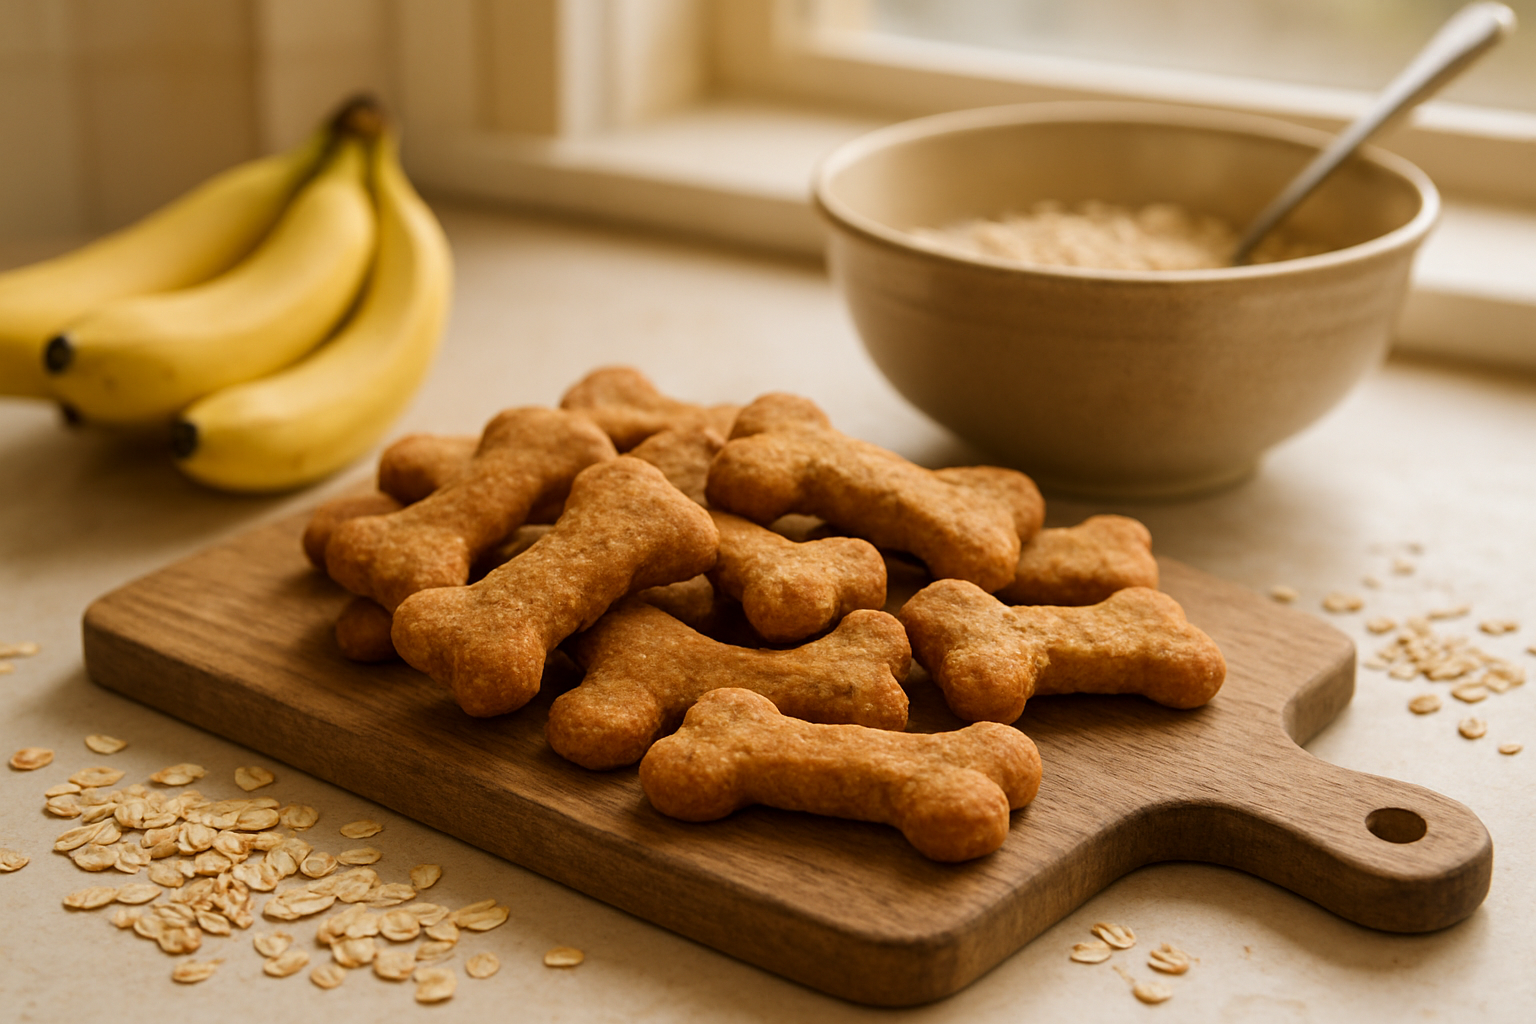
Simple 3-Ingredient Banana Oat Dog Treats
Quick Preparation with Basic Kitchen Tools
Now that we’ve covered the essential ingredients, you’ll be pleased to know that making these homemade dog treats requires only basic kitchen equipment you likely already have. You’ll need a food processor or blender to grind your oats into a fine powder, creating homemade oat flour in just seconds. If you don’t have these tools, don’t worry – you can use a coffee grinder for the oats or simply purchase oat flour from the store, though you’ll need less since it’s denser.
Your preparation setup should include a mixing bowl, rolling pin, and cookie sheet lined with parchment paper. Having a lightly floured surface ready will make the rolling process much smoother and prevent the dough from sticking.
Step-by-Step Mixing and Rolling Instructions
With your tools assembled, you can begin creating these simple dog treat recipes. Start by grinding 2 cups of oats in your food processor until they reach a fine powder consistency. Next, add 2 medium ripe bananas and ½ cup of natural peanut butter directly to the food processor with your ground oats. Blend everything together until a sticky dough forms.
Remove the mixture from your food processor and place it on your lightly floured surface. Use whole wheat flour, additional ground oats, or another dog-safe flour to prevent sticking. Roll the dough out using your rolling pin to your desired thickness. The dough should be manageable and hold together well, but add more flour if it becomes too sticky to work with.
Proper Baking Temperature and Time Guidelines
Previously, we’ve discussed the ingredients, so now let’s focus on the crucial baking process for these homemade treat for dogs. Preheat your oven to 300°F (150°C) before you begin mixing your ingredients. This lower temperature ensures the treats bake evenly without burning.
Once your treats are cut and placed on the parchment-lined baking sheet, bake them for 25 to 30 minutes. You’ll know they’re ready when they’ve puffed up slightly, feel dry to the touch, and have developed a dark golden brown color on the bottoms. The treats will still feel soft when first removed from the oven, but they’ll firm up as they cool completely.
Creative Shape Cutting Options
With this foundation in mind, you can get creative with your treat shapes. Use heart-shaped cookie cutters for a loving touch, or traditional bone-shaped cutters for that classic dog treat appearance. You’re not limited to specialty shapes – any cookie cutter you have on hand will work perfectly for these homemade dog treats.
If you don’t have cookie cutters, simply use a knife or pizza cutter to create squares or rectangles. The shape doesn’t affect the taste, so let your creativity guide you. Your dogs will appreciate these treats regardless of their appearance, making this an enjoyable dog cooking project for the whole family.
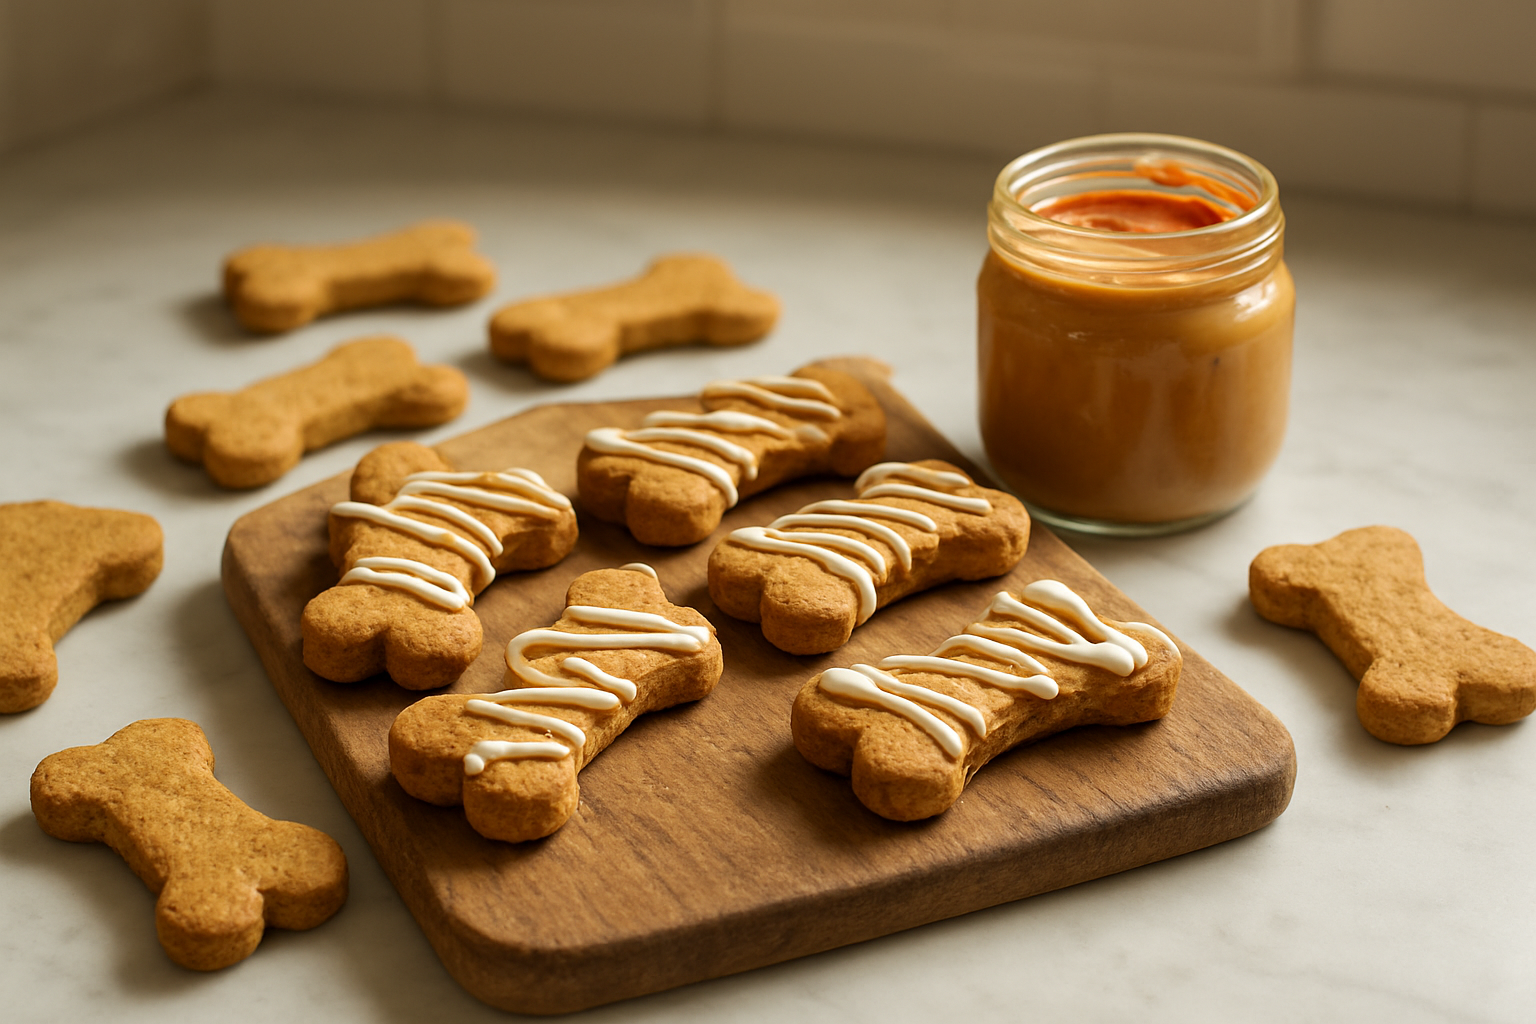
Classic Peanut Butter Dog Biscuits with Frosting
Complete Ingredient List for Treats and Topping
For your homemade dog treats, you’ll need simple, dog-friendly ingredients that are likely already in your kitchen. The biscuit base requires ½ cup of whole wheat flour, though you can substitute this with alternative flours if your dog has wheat sensitivities. You’ll also need 1 teaspoon of baking powder, ⅓ cup of vegetable oil, ⅓ cup of unsweetened applesauce, 1 egg, and 2 tablespoons of honey.
The optional frosting requires just two ingredients: 3 tablespoons of plain Greek yogurt and 1½ tablespoons of creamy peanut butter. This simple combination creates a delicious topping that your dog will absolutely love.
Detailed Mixing and Dough Formation Process
Now that we have covered the ingredients, let’s move on to the mixing process. Begin by preheating your oven to 350°F and prepare your baking area. In a medium bowl, whisk together the flour and baking powder until well combined. This ensures even distribution of the leavening agent throughout your homemade dog treats.
Next, add the wet ingredients to your dry mixture. Pour in the vegetable oil, unsweetened applesauce, egg, and honey. Whisk these ingredients gently to combine, being careful not to overmix. The goal is to create a cohesive dough that holds together without being tough or dense.
Rolling, Cutting, and Baking Techniques
With this in mind, next, we’ll see how to shape and bake your dog treat recipes. If you’re making traditional biscuits, you can roll the dough on a lightly floured surface and cut into desired shapes using cookie cutters. However, the reference method suggests dividing the batter between prepared muffin cups for a cupcake-style treat.
Line 6 wells of a standard muffin tin with paper liners or spray with non-stick cooking spray. Divide the batter evenly between the prepared cups. Bake for 10 to 15 minutes, or until a toothpick inserted into the center comes out clean. Allow the treats to cool completely before adding any frosting.
Optional Peanut Butter Frosting Preparation
Once your homemade treat for dogs has cooled completely, you can prepare the simple yet delicious frosting. Mix the plain Greek yogurt with the creamy peanut butter, stirring until smooth and well combined. The yogurt provides a tangy contrast to the sweet peanut butter while adding beneficial probiotics for your dog’s digestive health.
Spread the frosting generously on top of each cooled treat before serving. These frosted dog cooking creations can be stored in the refrigerator for up to 3 days, making them a convenient option for treating your furry friend throughout the week.
How to Keep Cats and Dogs Together Peacefully: Make a Harmonious Home
Safety Guidelines for Dog-Friendly Ingredients
Avoiding Toxic Xylitol in Peanut Butter
When making homemade dog treats, you must carefully check your peanut butter labels for xylitol. This artificial sweetener is extremely dangerous for dogs and can be found in many sugar-free products, including some peanut butter brands. According to ASPCA Poison Control, xylitol can cause low blood sugar (hypoglycemia) and potentially liver damage depending on the amount your dog ingests.
Initial signs of xylitol toxicosis include vomiting, lethargy, and loss of coordination, which can quickly progress to seizures. Liver damage can occur within 12-24 hours of ingestion, causing secondary issues with abnormal bleeding. Always choose natural peanut butter with only peanuts and salt as ingredients when preparing your homemade treat for dogs.
| Safe Peanut Butter Ingredients | Dangerous Ingredients |
|---|---|
| Peanuts | Xylitol |
| Salt | Sugar-free sweeteners |
| Peanut oil | Artificial sweeteners |
Flour Alternatives for Dogs with Allergies
If your dog has grain allergies or sensitivities, traditional wheat flour can cause digestive upset. Since many dogs don’t possess significant amounts of lactase (the enzyme that breaks down certain compounds), you need suitable alternatives for your dog treat recipes. Consider using oat flour, rice flour, or coconut flour as substitutes in your homemade dog treats.
However, be cautious with coconut-based products. While coconut and coconut oil are generally safe when ingested in small amounts, the flesh and milk of fresh coconuts contain oils that may cause stomach upset, loose stools, and diarrhea in some dogs.
Honey Precautions for Puppies and Immunocompromised Dogs
While honey isn’t specifically mentioned as toxic in the reference materials, you should exercise caution when using it in dog cooking for vulnerable populations. Puppies and immunocompromised dogs may have difficulty processing certain ingredients that healthy adult dogs can handle without issues. Always consult your veterinarian before introducing honey into homemade treat recipes for young or health-compromised pets.
Testing New Treats Before Regular Use
Before incorporating any new homemade treat for dogs into your pet’s regular diet, conduct small test batches. The degree of food sensitivity often depends on several factors, including the type of animal, how much they consume, and their individual tolerance levels. Start by offering just a small piece of your homemade dog treats and monitor your pet for 24-48 hours.
Watch for signs of digestive upset such as vomiting, diarrhea, excessive thirst, or changes in behavior. If you notice any adverse reactions, discontinue the treats immediately and contact your veterinarian. Remember that even dog-safe ingredients can cause problems if your pet has individual sensitivities or if they consume excessive amounts.
| Testing Schedule | What to Monitor |
|---|---|
| Day 1 | Small piece, watch for immediate reactions |
| Day 2-3 | Monitor digestion and energy levels |
| Day 4+ | Gradually increase portion if no issues |
Proper Storage and Preservation Methods
Room Temperature Storage Options
Your homemade dog treats can stay fresh at room temperature when stored properly, but this option works best for specific types of treats. Dry, crunchy treats that don’t contain meat, fish, or cheese can typically be kept in an airtight container in your larder or pantry for up to one week. The key is ensuring your treats are completely cool before storage – even the tiniest bit of residual warmth will cause condensation, making treats damp and spoiling their crunchiness while causing them to go bad much more quickly.
For room temperature storage, place your treats on a wire cooling rack where air can circulate freely around them for at least three hours before transferring to storage containers. If you want to extend their shelf life, you can increase the crunch factor by turning off your oven after baking, opening the door slightly, and leaving treats inside while the oven cools for about 30 minutes.
Keep in mind that environmental factors matter – if you live somewhere hot without efficient air conditioning, or during heat waves, your homemade dog treats will spoil faster than normal in warm environments. Humidity makes this even worse. Light exposure can also cause treats to spoil faster, which is why keeping them in a dark pantry or larder works better than countertop storage.
Refrigeration for Extended Freshness
Now that we’ve covered room temperature options, refrigeration is actually the best storage method for the majority of your homemade dog treats. Your refrigerator provides the ideal environment to keep treats fresh for longer periods while eliminating worries about spoilage.
Most homemade dog treats should be stored in airtight containers in your refrigerator, where they’ll stay fresh for up to two weeks. This is particularly important for treats containing fruits and vegetables, which tend to stay softer and have shorter lifespans. Soft treats must always be refrigerated and will typically remain good for five to seven days.
Dog treats containing meat, fish, or a meat-based broth should be stored in the refrigerator as soon as they’re completely cool, where they’ll stay fresh for around five days. Similarly, if you’ve used butter or margarine in your dog treat recipes, those treats will spoil faster and should always be refrigerated.
Treats made with gluten-free flour, especially those also containing fruits or vegetables, tend to stay soft and don’t store as well as those made with whole grain flour. Keep these treats in airtight containers in your refrigerator for up to one week, inspecting them regularly for any signs of going soggy or showing signs of spoilage.
Freezing Techniques for Long-Term Storage
Previously, I’ve mentioned shorter-term storage methods, but freezing offers the best solution for long-term preservation of your homemade dog treats. Your freezer can keep most homemade dog treats fresh for several months when properly stored.
Make sure your treats are either in airtight containers or wrapped tightly in foil to prevent freezer burn. Using a vacuum sealer is an excellent way to extend storage life even further – vacuum-sealed bags of treats stored in your freezer can remain fresh for up to a year.
You have flexibility in how you serve frozen treats to your dog. Depending on the treat, you can either defrost them completely before offering them or give them frozen. Big or thick treats are best defrosted first, while thinner ones are often enjoyed frozen as they become super crunchy. However, keep in mind that frozen treats don’t taste as good as thawed ones.
You can also freeze uncooked dog treat dough for future use. Consider making double batches to save prep work later, or divide regular recipes in half if your dog is small or you only offer treats occasionally. Always double-wrap uncooked dough before freezing and defrost thoroughly in the refrigerator before using.
Container Selection for Maximum Freshness
With this in mind, next we’ll examine the right containers for different storage situations. Your choice of storage container depends on what type of homemade dog treats you’ve made and where you need to store them.
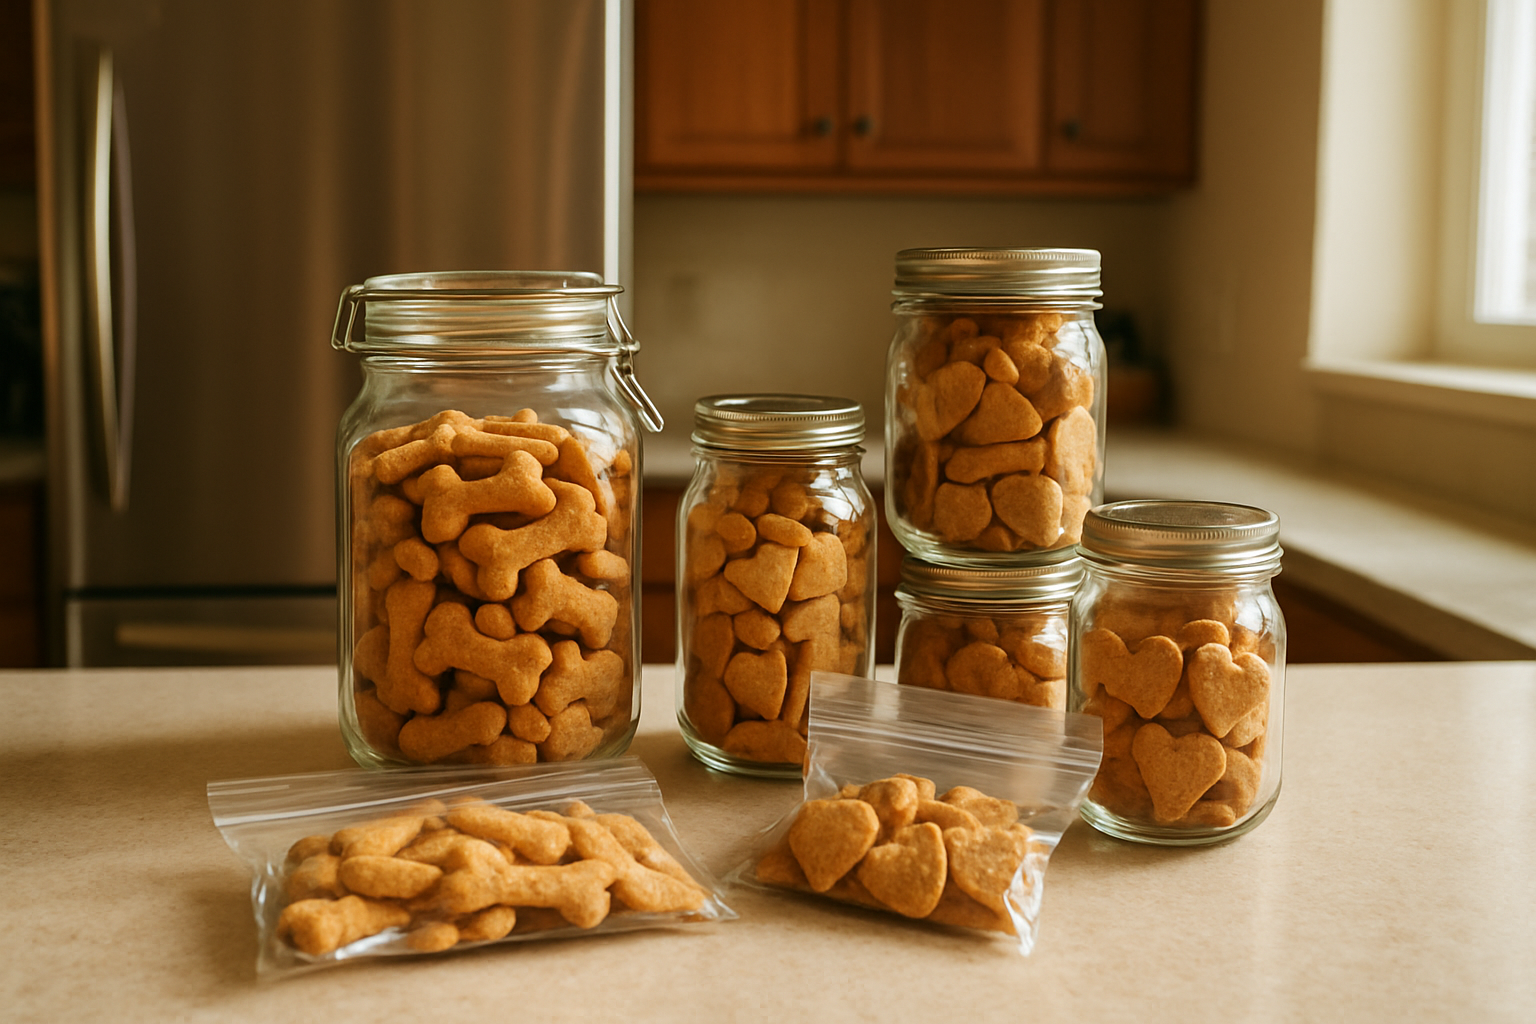
For countertop storage, glass, ceramic, or stainless steel jars work well, provided they seal air-tight. These containers not only preserve freshness but can complement your kitchen decor. When shopping online, always check container dimensions before purchasing to avoid unpleasant size surprises.
| Storage Location | Best Container Type | Key Features |
|---|---|---|
| Room Temperature | Glass, ceramic, or stainless steel | Airtight seal, attractive appearance |
| Refrigerator | BPA-free plastic containers | Refrigerator-safe, stackable, dishwasher-safe |
| Freezer | Freezer bags or freezer-safe containers | Clear visibility, easy labeling |
If your homemade dog treats need refrigeration, choose truly airtight, BPA-free plastic containers that are refrigerator-safe. Look for versatile options that are dishwasher, refrigerator, and freezer-safe, plus stackable for efficient storage.
For freezer storage, you can use sturdy freezer bags or any freezer-safe containers you prefer. Choose containers where you can clearly see the contents and easily label them with descriptions and dates for better organization.
Top 15 Things You Need for a Dog That Every Owner Should Know
Cost-Effective Benefits of Homemade Treats
Significant Savings Over Store-Bought Options
When you make homemade dog treats, you can sidestep the hefty brand markup that often inflates commercial treat prices. By purchasing ingredients in bulk, you significantly reduce per-unit costs while controlling quality and quantity. You eliminate surplus expenses associated with pre-made treats, including branding, marketing, and distribution costs that commercial manufacturers pass on to consumers.
Using Overripe Bananas and Kitchen Staples
Your homemade treat recipes can incorporate multi-purpose ingredients like peanut butter, oats, and whole wheat flour that you likely already stock in your pantry. These versatile staples not only form the foundation for nutritious dog treats but also feature prominently in human recipes, allowing you to buy in bulk and achieve substantial household savings while reducing food waste.
Batch Making for Multiple Dogs
You can create larger batches of homemade treats more cost-effectively than purchasing multiple packages of commercial options. This approach allows you to prepare treats in quantities that suit your household’s needs, whether you have one dog or several, while maintaining freshness through proper storage in airtight containers.
Customizable Recipes for Different Dog Sizes
Your homemade dog treats offer complete flexibility in portion control, allowing you to adjust treat sizes based on your pets’ specific needs. You can create smaller treats for tiny breeds or larger biscuits for bigger dogs, preventing waste from oversized commercial treats while meeting each dog’s dietary requirements and preferences.
Making homemade dog treats is one of the most rewarding ways to show your furry friend how much you care. With just simple ingredients like bananas, oats, and peanut butter, you can create nutritious treats that are not only healthier than store-bought alternatives but also significantly more affordable. Your dog will love the fresh flavors, and you’ll have peace of mind knowing exactly what ingredients go into their snacks.
Start with the easy 3-ingredient banana oat recipe to test your pup’s preferences, then experiment with classic peanut butter biscuits and creative frosting designs. Remember to always use dog-safe ingredients, store your treats properly in airtight containers, and introduce new treats gradually. Your four-legged family member deserves the best, and these homemade treats are sure to have their tail wagging with excitement every time you reach for the treat jar.
Always consult with your veterinarian before making significant changes to your pet’s diet.
Frequently Asked Questions
1.Can I use regular flour in dog treat recipes?
Yes, you can use regular flour, but whole wheat or oat flour is healthier for most dogs. If your dog has a wheat allergy, try rice or coconut flour.
2. How many homemade treats can I give my dog?
Treats should be given in moderation. They should not make up more than 10% of your dog’s daily calories. Adjust based on your dog’s size and activity level.
3. Are homemade dog treats safe for puppies?
Most homemade treats are safe for puppies, but avoid hard or crunchy treats for very young puppies. Always check with your vet before introducing new foods.
4. Can I freeze homemade dog treats?
Yes! Most homemade dog treats freeze well. Store them in a freezer-safe bag or container and thaw before serving.
5. What if my dog has allergies?
You can adjust recipes to avoid allergens. For example, use oat flour instead of wheat, or skip eggs if your dog is sensitive. Always introduce new ingredients slowly. And always consult with your veterinarian.